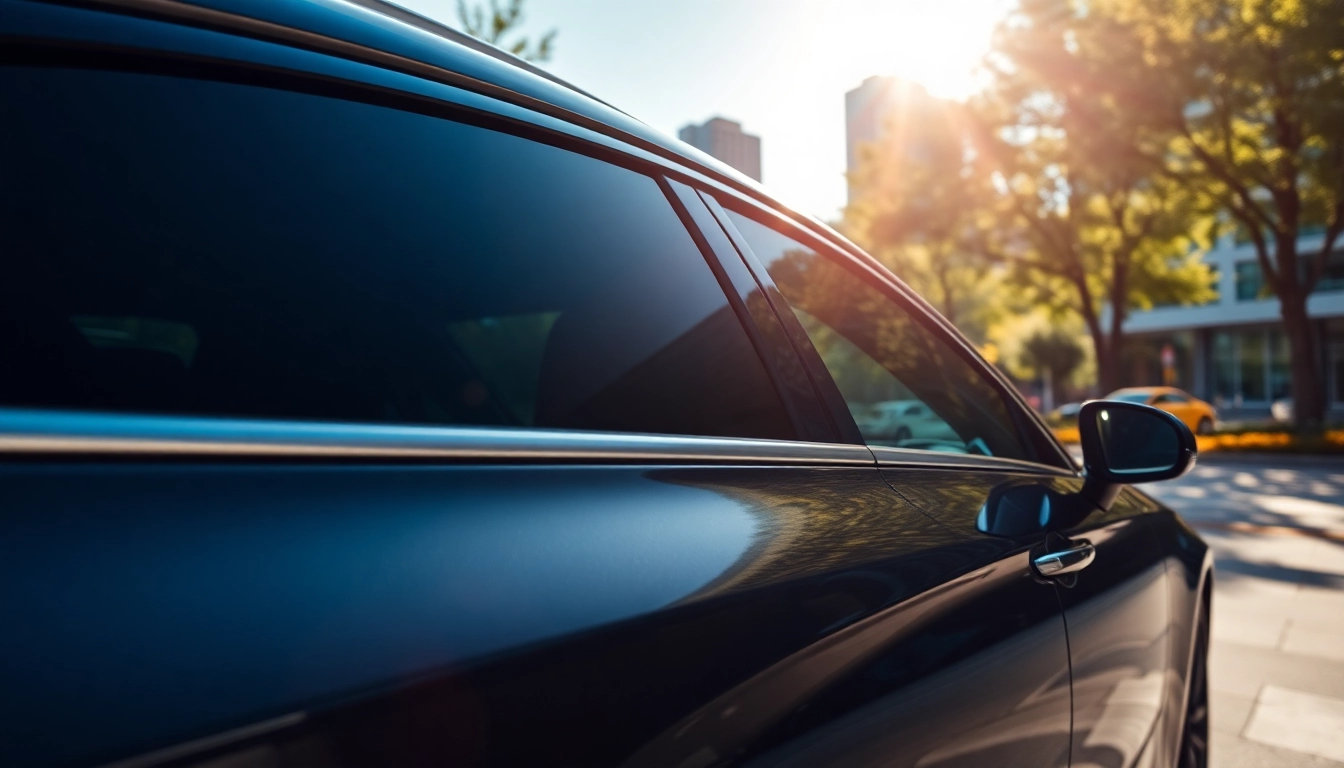
Understanding Car Tint Types
When it comes to upgrading your vehicle, one of the most impactful changes can be the application of car tint. This enhancement not only makes your car look sleeker but also offers numerous benefits in terms of functionality and protection. In this guide, we’ll explore the various types of car tint available, helping you make an informed decision for your vehicle.
1. Different Styles of Car Tint
Car tint comes in several styles, which can generally be categorized into three main types: dyed, metalized, and ceramic. Each of these styles has unique characteristics that cater to different needs.
- Dyed Tint: This is one of the most common types of window films. Dyed tint relies on a layer of dye between an adhesive layer and a protective top coating. It reduces glare and blocks some UV rays, although its heat rejection is limited compared to other types.
- Metalized Tint: This type contains particles of metal, which reflects heat and adds strength to the film. Metalized tint is excellent for blocking UV rays and provides added durability against scratches. However, its metallic particles can interfere with electronic signals, which may be problematic for cars with built-in antennas.
- Ceramic Tint: Considered the top-tier option, ceramic tint contains advanced ceramic particles that provide exceptional heat rejection without compromising visibility. It blocks up to 99% of UV rays and doesn’t interfere with electronic signals, making it perfect for modern vehicles. Though it is generally more expensive, the investment pays off in performance and longevity.
2. Pros and Cons of Each Tint Type
Choosing the right type of tint involves weighing the pros and cons of each style:
| Type | Pros | Cons |
|---|---|---|
| Dyed Tint | Affordable, easy to install, reduces glare | Limited heat rejection, fades over time |
| Metalized Tint | Excellent heat and UV rejection, durable | Can interfere with signals, may be pricier |
| Ceramic Tint | Superior heat rejection, visible light transmission, no signal interference | Higher initial cost |
3. Choosing the Right Tint for Your Vehicle
Selecting the right tint involves considering several factors:
- Purpose: Are you primarily seeking UV protection, heat rejection, or aesthetic improvements?
- Budget: Higher-quality tints typically come at a premium price but offer better performance and longevity.
- Local Regulations: Be aware of local laws regarding window tint percentages and types.
- Vehicle Type: The make and model of your vehicle may influence the tinting process, especially for more complex window shapes.
Benefits of Car Tinting
The advantages of applying tint to your car windows extend far beyond mere aesthetics. Let’s dive into the various benefits of car tinting.
1. UV Protection and Interior Preservation
Window tint effectively blocks a significant percentage of ultraviolet rays from the sun, which can be harmful not only to your skin but also to your vehicle’s interior. Exposure to UV rays can cause seats and dashboards to fade and deteriorate over time. By installing a high-quality window film, you can prolong the life of your car’s interior and improve your comfort while driving.
2. Privacy and Security Enhancements
One of the most immediate benefits of car tinting is the increased privacy it provides. Tinted windows obscure the view into your vehicle, which is particularly important for safeguarding personal belongings. Additionally, car tinting can also deter theft, as it makes it harder for would-be intruders to see what valuables may be inside.
3. Aesthetic Improvements and Value Addition
Beyond the practical advantages, car tint can enhance the overall look of your vehicle, giving it a sleek and modern appearance. Aesthetic improvements can contribute to better resale value if you ever decide to sell or trade-in your car, as prospective buyers often prefer vehicles with tinted windows for their stylish appearance and functional benefits.
Installation Process and Maintenance
Whether you choose to install window tint yourself or hire a professional, understanding the installation process is crucial for achieving the desired results.
1. DIY vs Professional Car Tint Installation
DIY tinting kits are widely available for those who prefer to tackle the job themselves. However, professional installations generally produce better results, especially for beginners. Professional installers have the necessary experience, tools, and access to high-quality materials that contribute to a flawless finish. Additionally, many professionals offer warranties that cover potential issues, providing peace of mind.
2. Step-by-Step Tinting Process
If you’re keen on proceeding with a DIY approach, here’s a general outline of the steps involved in the tinting process:
- Gather Materials: Purchase a DIY tint kit, which typically includes tint film, a squeegee, utility knife, and spray bottle.
- Clean the Windows: Use a glass cleaner to thoroughly clean the windows to ensure that no dirt or debris is trapped under the film.
- Measure and Cut the Film: Carefully measure your windows and cut the tint film to the appropriate size, leaving a small margin for adjustments.
- Apply the Film: Spray the surface of the window and the adhesive side of the film with a solution to help with adhesion. Carefully lay the film onto the wet window.
- Squeegee Out Air Bubbles: Use the squeegee to push out air bubbles and excess film to ensure an even application.
- Trim Excess Film: Use a utility knife to trim any excess film after it has been applied.
- Final Checks: Check for any bubbles or imperfections and smooth them out as necessary.
3. Maintenance Tips for Longevity
Proper maintenance is essential for keeping your tinted windows looking great. Here are some tips to ensure longevity:
- Avoid washing your car for at least a week after installation to allow the adhesive to cure properly.
- Use soft, scratch-free cloths for cleaning to prevent damage.
- Stay away from ammonia-based cleaners, as they can degrade the tint over time.
- Inspect the tint regularly for any signs of bubbling or peeling, and contact a professional if you notice issues.
Legal Aspects of Car Tint
Before installing window tint, it’s crucial to understand the legal regulations governing tinting in your area. Compliance not only avoids potential fines but also ensures your safety on the road.
1. Understanding Tint Regulations in Your Area
Each state or region has its own laws regarding window tint, including the permissible darkness (measured in VLT – Visible Light Transmission) and which windows can be tinted. Many jurisdictions allow for darker tints on rear windows compared to front windows to maintain driver visibility. It’s essential to familiarize yourself with local laws to avoid complications.
2. Common Tint Percentage Limits
Common tint percentage limits vary widely, but many states permit a maximum of around 35% on front side windows, with variations for back and rear windows. It’s advisable to check your state’s Department of Motor Vehicles (DMV) website for the most accurate and updated information.
3. Consequences of Non-Compliance
Failing to adhere to local regulations regarding window tint can result in fines, having to remove the tint, and potential points on your driver’s license. In some cases, law enforcement may require you to take your vehicle to a special inspection to ensure compliance, which can be time-consuming and costly.
Car Tint Cost and DIY Options
The cost of car tinting can vary significantly based on several factors, including the type of tint, the size of your vehicle, and whether you choose professional installation or a DIY approach.
1. Average Costs of Professional Tinting Services
On average, professional car tinting services can range from $200 to $600, depending on the type of tint and the vehicle size. While ceramic tint is typically the most expensive option, the long-term benefits in terms of durability and performance can justify the initial investment.
2. Evaluating DIY Tint Kits
DIY tint kits are often more affordable, typically costing anywhere from $50 to $200. While opting for these kits can save you money, they also come with the trade-off of potentially lower quality and effectiveness. Moreover, the installation process might require a steep learning curve, especially for those without prior experience.
3. Cost-Benefit Analysis of Professional vs DIY
When evaluating whether to go professional or DIY, consider not just the financial aspects but also the quality of the installation. While DIY kits may seem appealing, the potential risks of improper application and the long-term benefits of having a professional handle the job often tip the scale in favor of hiring an expert. Additionally, self-installed window tint may have lower resale value and potential legal complications if not compliant with regulations.